
Receive
Receive files from clients
Create a file request and share its link. Anyone can upload to it without an account.
- Paid plans
- Up to 1,000 files per upload
- No account for uploaders
Steps
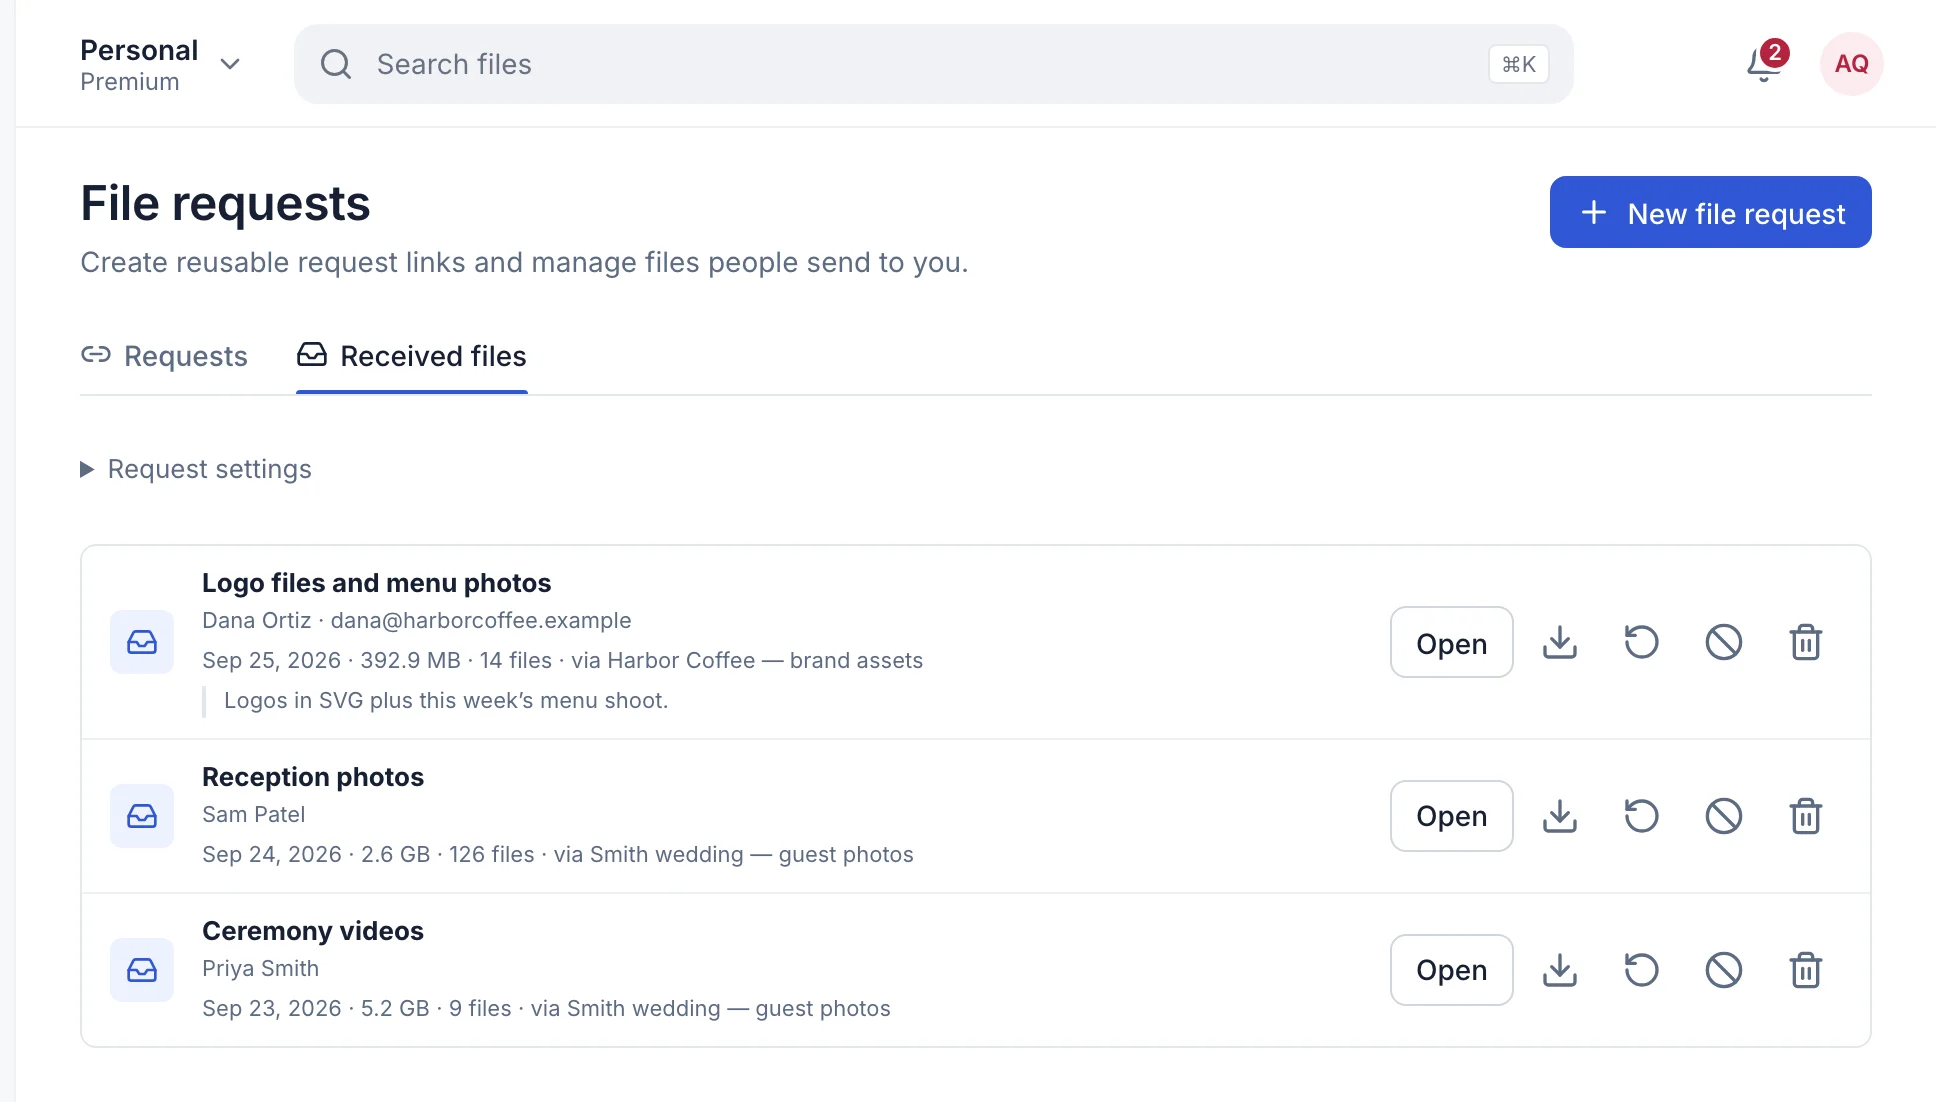
- In your workspace, open Transfers → File requests.
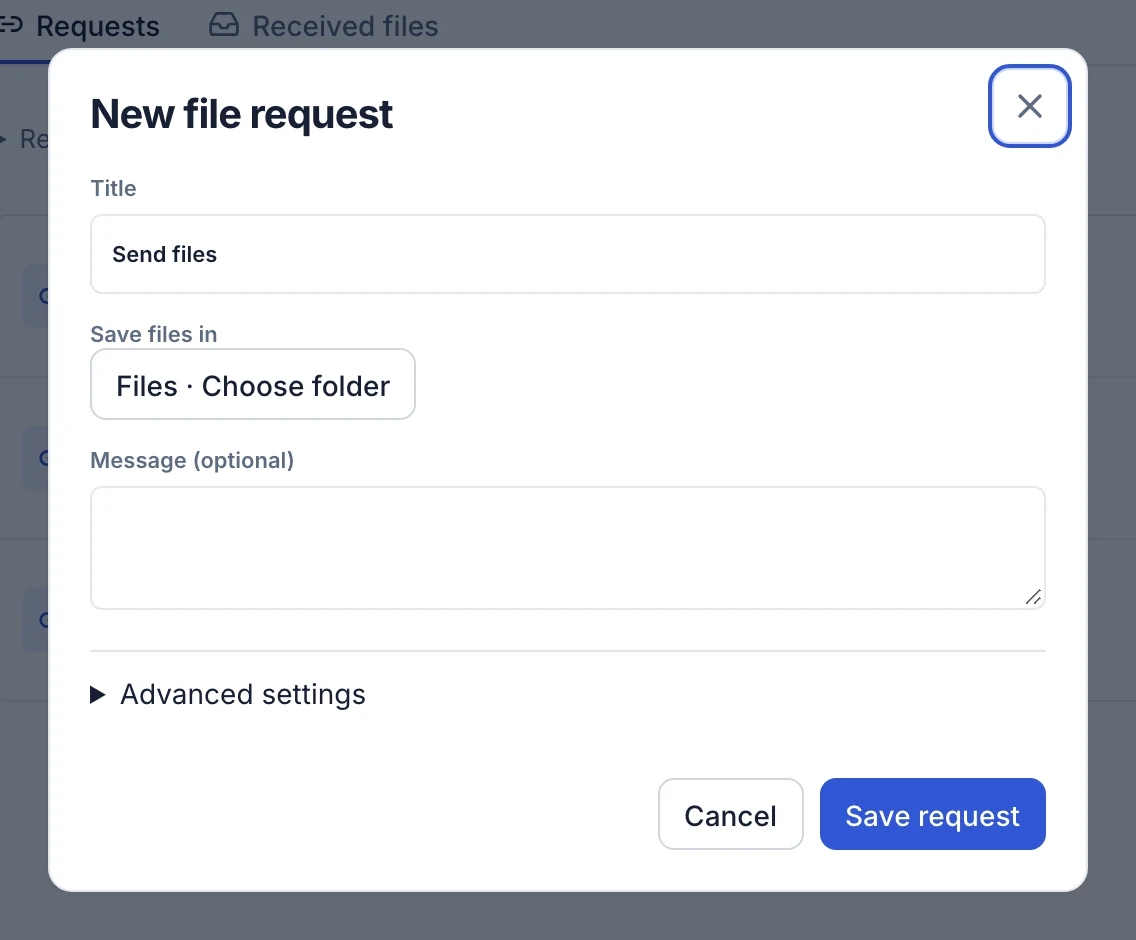
- Select New file request and give it a title.
- Choose the folder uploads are saved to, and add a message (optional).
- Under Advanced settings, set a password or file limit (optional).
- Select Save request, then copy its link and share it.
Troubleshooting
A client can’t upload
Check the request isn’t paused or expired, and that it hasn’t reached its file limit.
Where do the files go?
To the folder you chose, and under File requests → Received files.
Updated September 26, 2026